





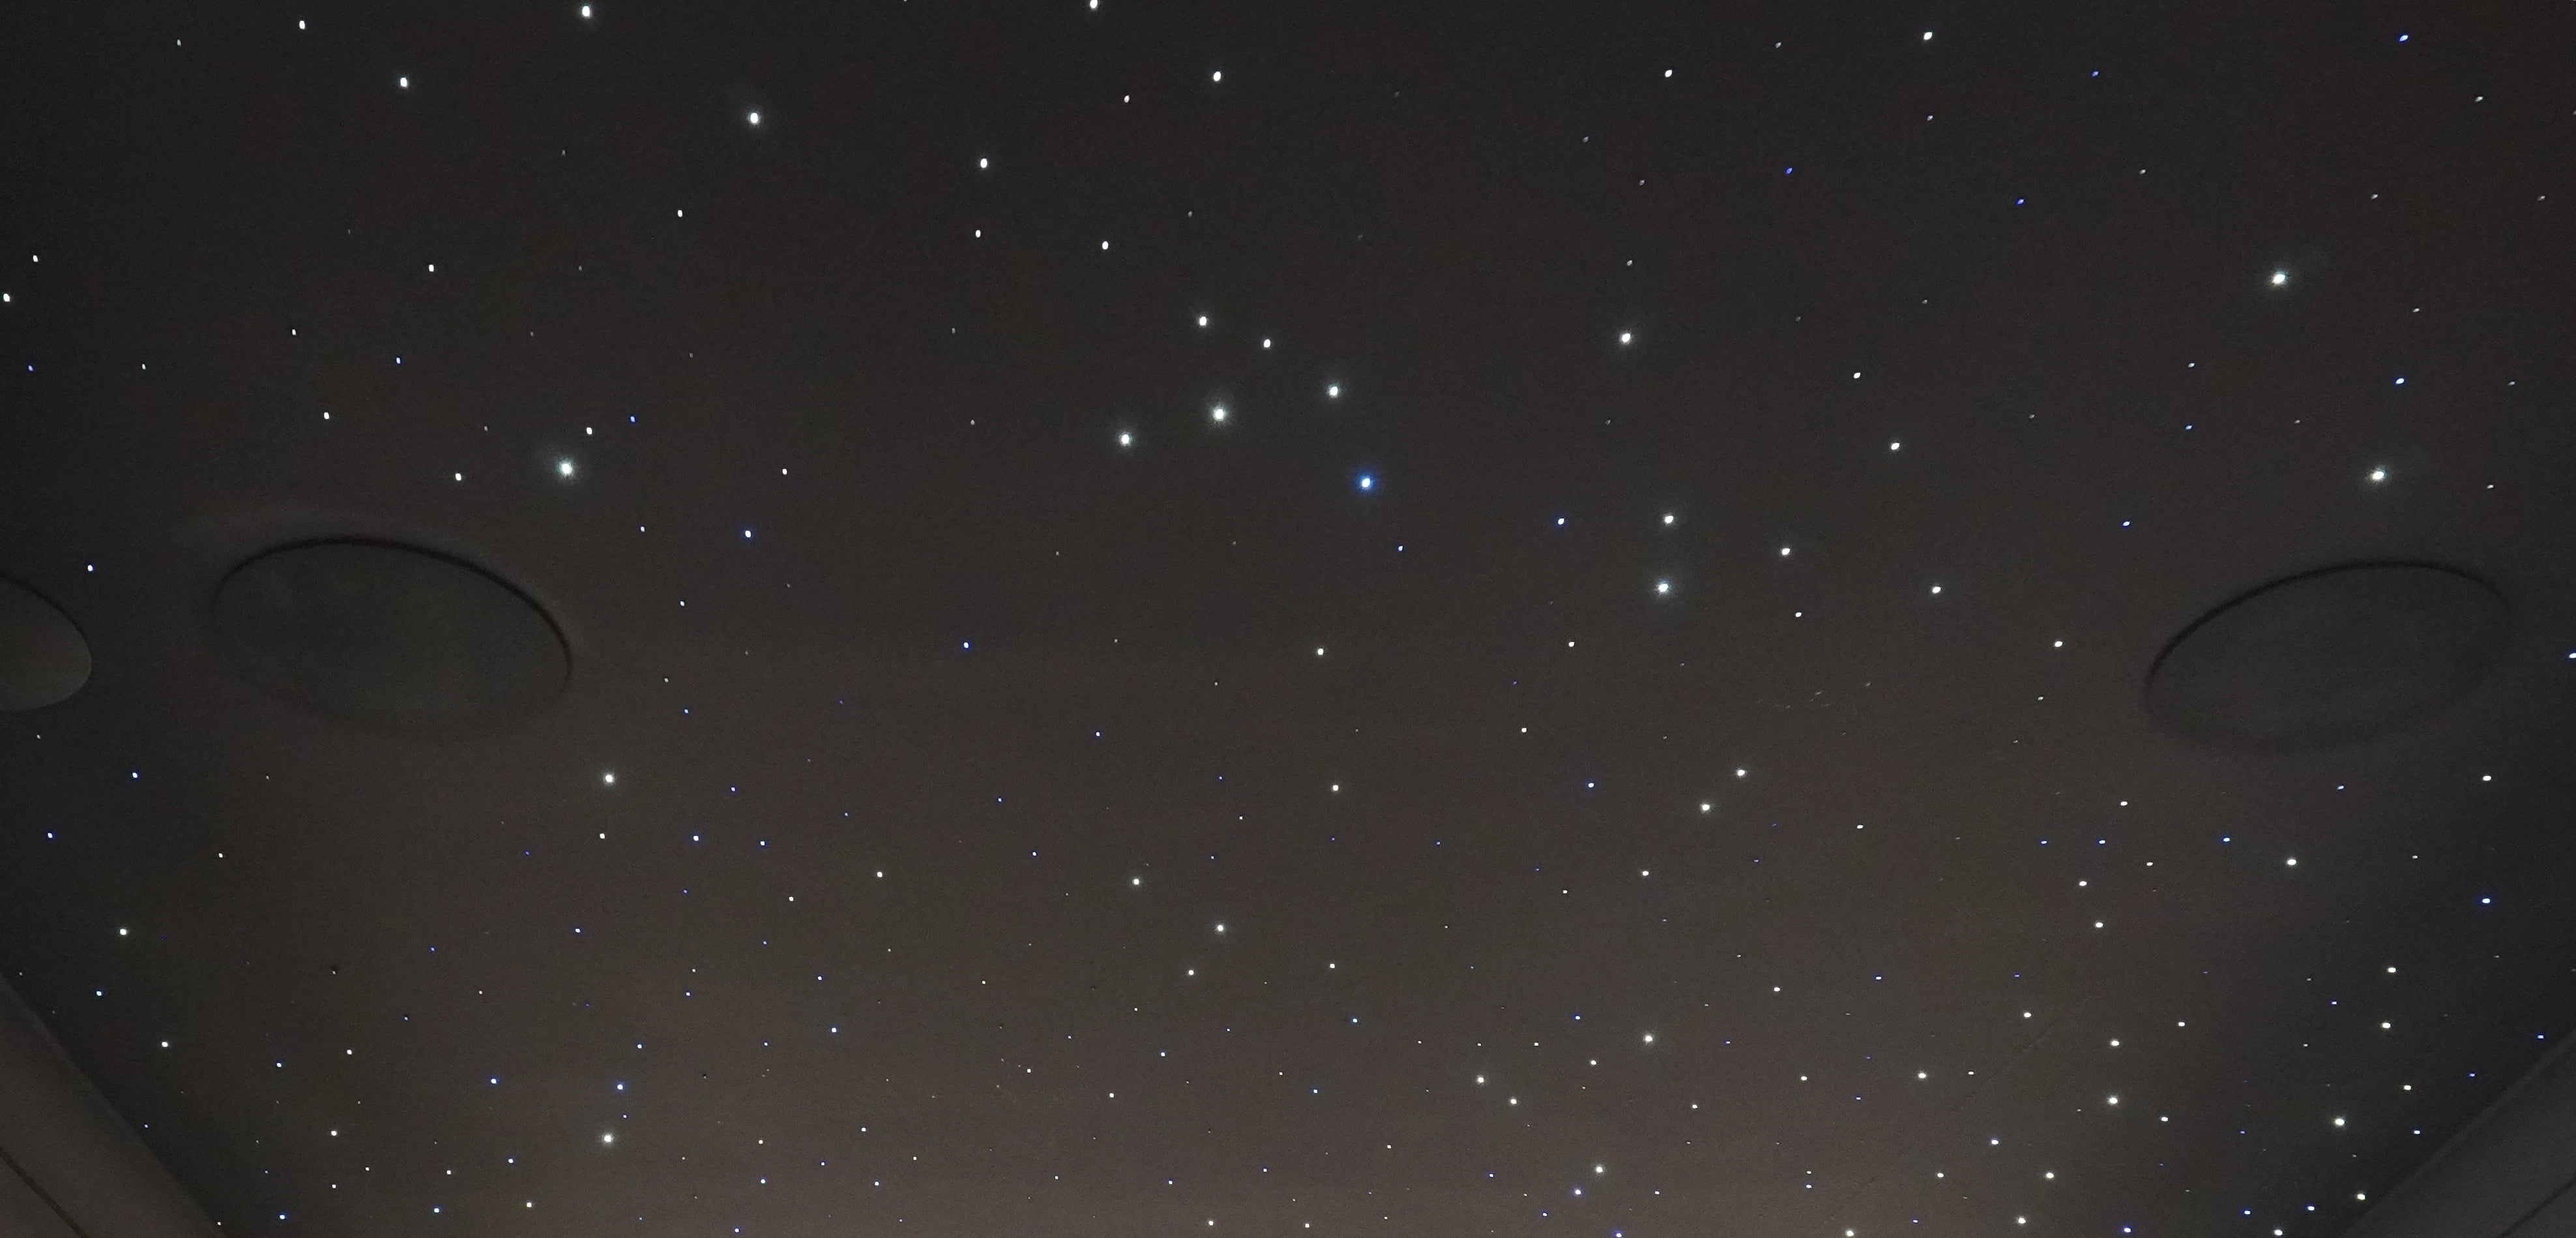
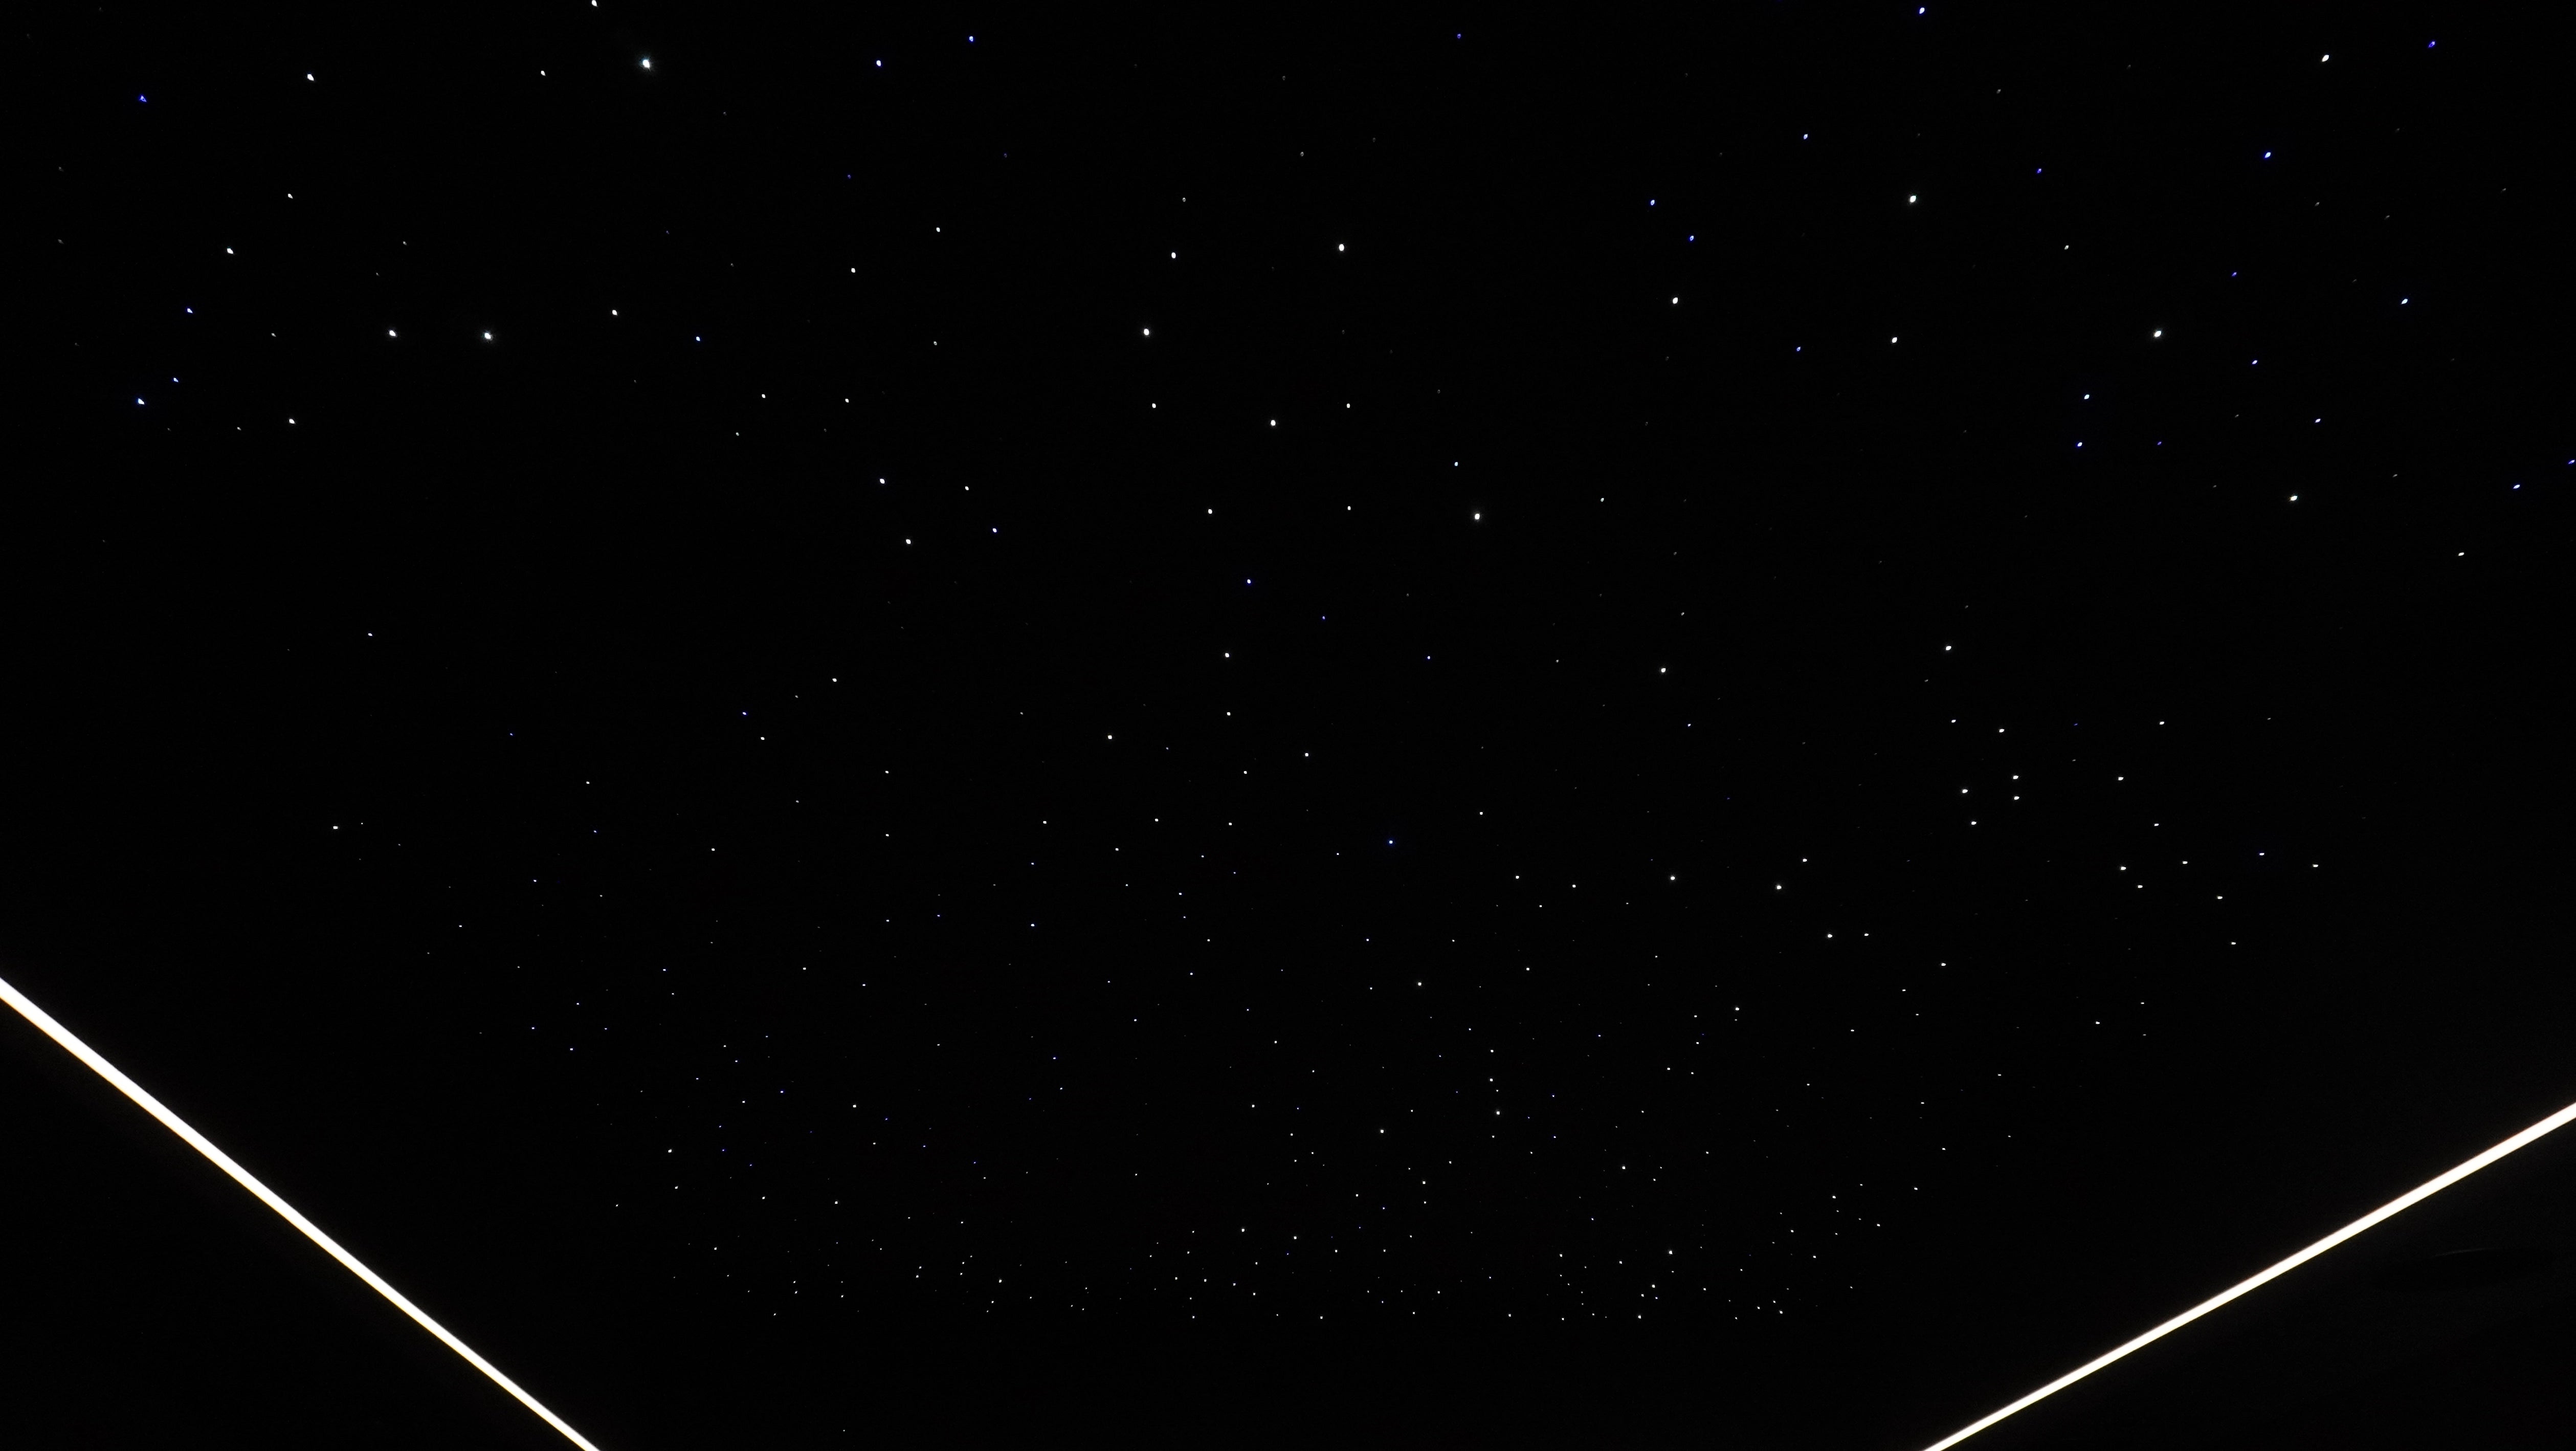
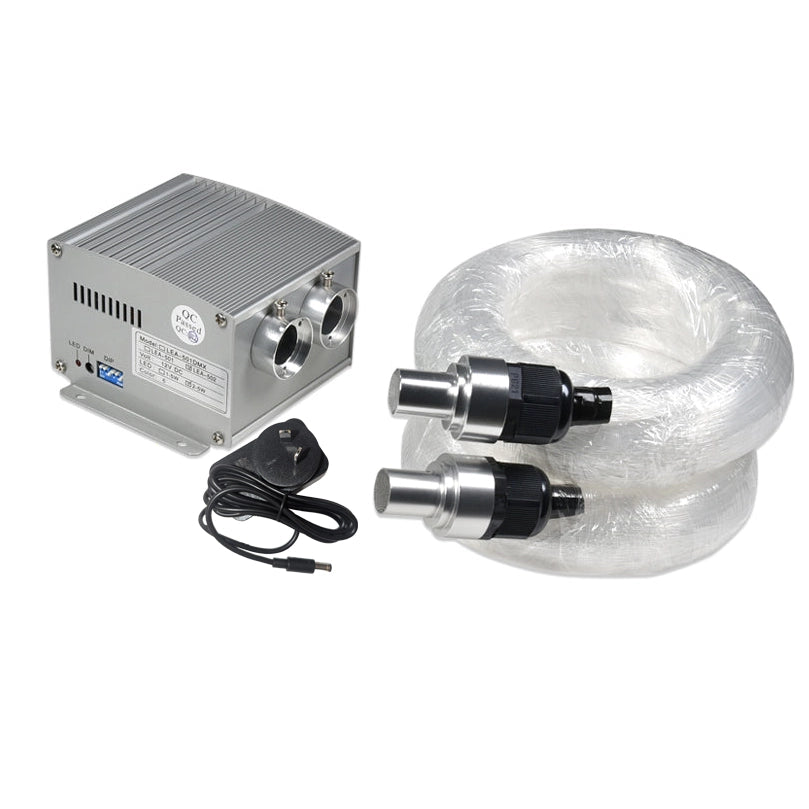
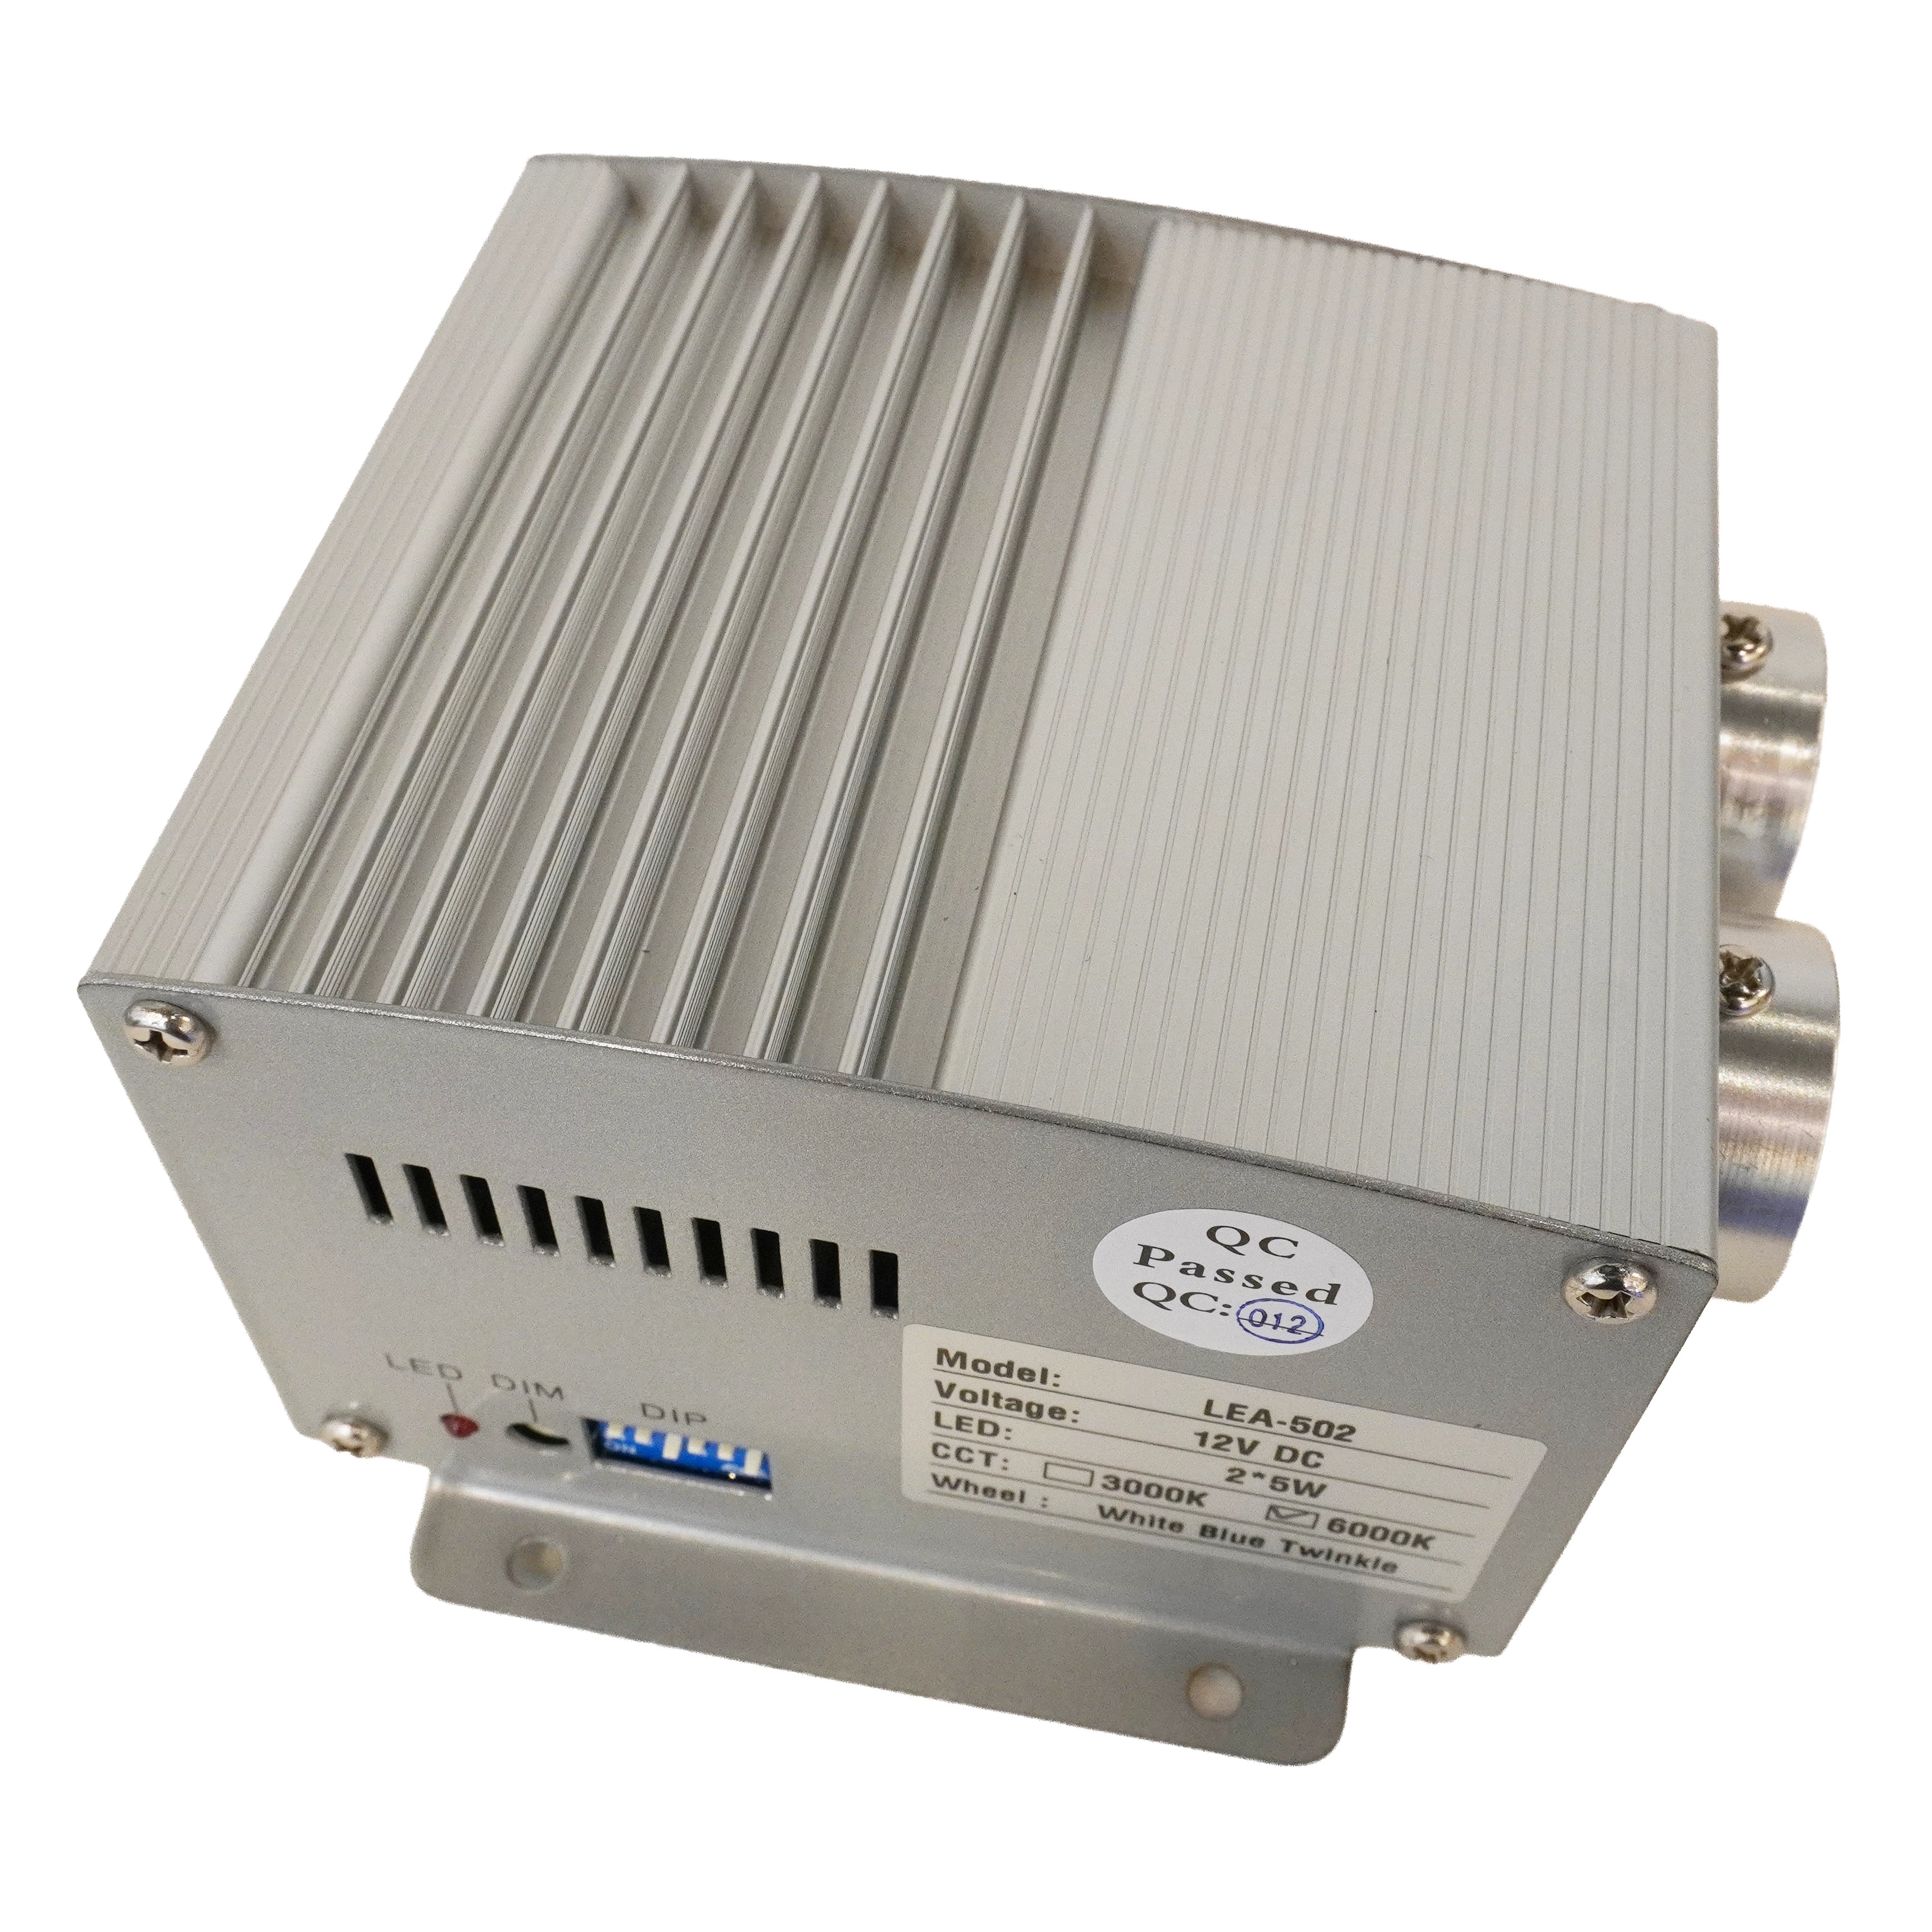
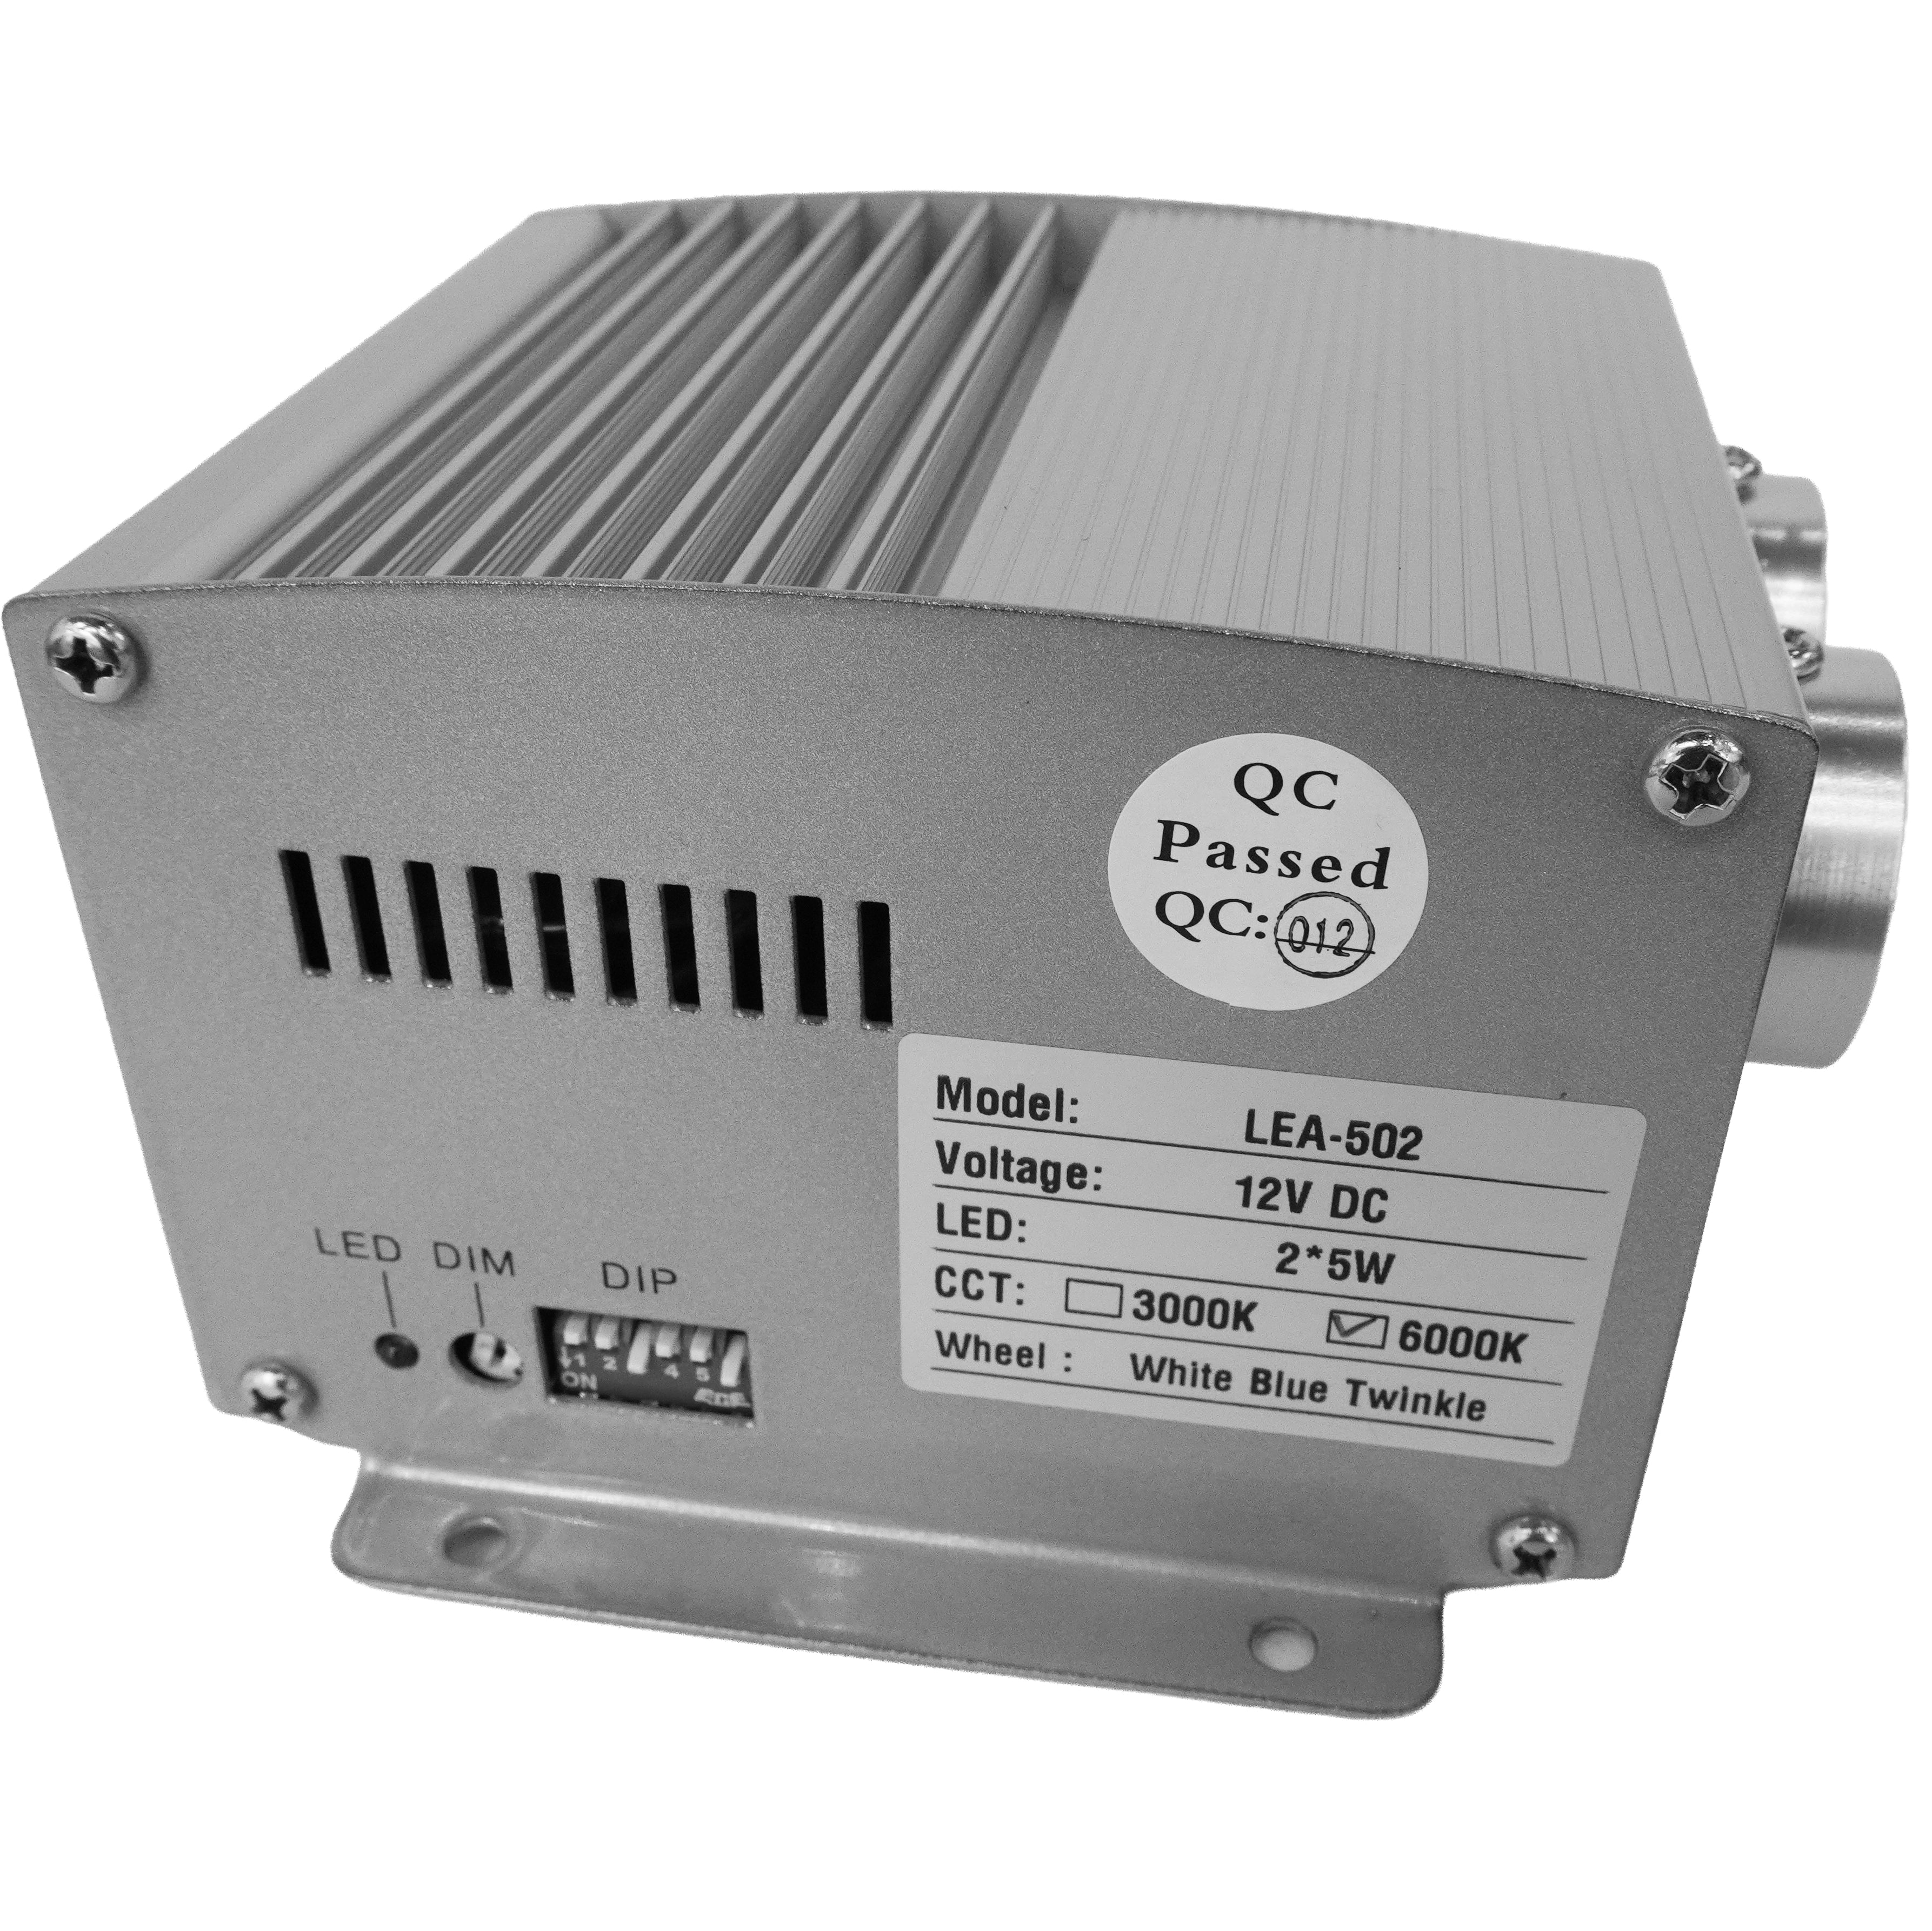


900 Stars Twinkle engine and fibre optic harness and generator complete Kit
Tax included. Shipping calculated at checkout
ABOUT 900 Stars Twinkle engine and fibre optic harness and generator complete Kit
Best For
Installation Overview
Shipping & Returns
- Free shipping on orders over $300 Australia-wide
- Flat $19 shipping on orders under $300
- Oversized items: flat $69 fee
- Returns accepted — see our returns policy
- Questions? Call (02) 6170 2923 or visit our Fyshwick showroom
Pickup currently unavailable at LUMI-FI
900 Stars Twinkle engine and fibre optic harness and generator complete Kit
LUMI-FI
Pickup currently unavailable
89 Collie Street
Fyshwick ACT 2609
Australia
Choose options
900 Stars Twinkle engine and fibre optic harness and generator complete Kit
Sale price$999.00 AUD
Regular price$1,199.00 AUD
DETAILS
Product Information
Why our Star Ceiling Kit is the best in the business
Hundreds of them sold, not a single one has been sent back for a Warranty Claim
Our star ceiling kit is not strobing (on/off) kit like others, but it has a spinning glass wheel in front of the light source

The speed of the Twinkly motor is adjustable using the 1-8 dip switches This gives you control over the Twinkle speed to get the most realistic night sky fading effect. We recommend to set it to 1 RPM. But the final choice is yours. The manual tells you the position of the dip switches to get the desired RPM

Our Star Ceiling Kit comes with a dimmer knob to adjust the output of the LED lamp to your liking. In a home theater environment , you might want to keep at a bit lower than max , so it doesn't effect the picture on your screen.
Our star ceiling kit does not bother with RGBW , We keep it simple and realistic, blue and white fading. When was the last time you saw Red and Green Stars
Our Star Ceiling Kit comes with 450 star optic fiber harness. Most of our competitors give only 200 to 250 strands. In most cases, this lower number of strands are not enough to cover the ceiling generously.
Our Star Ceiling Kit comes with Australian Warranty. We have sold tens and tens of them and not a single one has come back. When you buy from Alibaba directly, good luck with finding the supplier overseas. We are a brick and mortar store based in Fyshwick Canberra. You know your warranty is in safe hands, in the unlikely event of a failure. The zero failure rate (so far) is not just mere luck, its because we specify very high quality components. The Aluminium housing keeps the LED chip cool which in turn plays a big role in giving a longer life to the light source. When we offer 2 years warranty, we don't keep our fingers crossed, we are very confident, it will last much longer than the warranty period.
We do not supply a remote control because it doesn't have RCM approval. The last thing we want to do is supply you with unapproved products. We recommend you ask your electrician to give a separate power point or plug base in your ceiling that can turn on an off from a switch on the wall. Running it from the same circuit as your down lights is not recommended, as you will need to keep your down lights on all the time to enjoy the Star ceiling kit.
Summary in a glance
-
2 x 450 pcs x 0.75mm x 4 metres PMMA end lit optic fiber strands harness
-
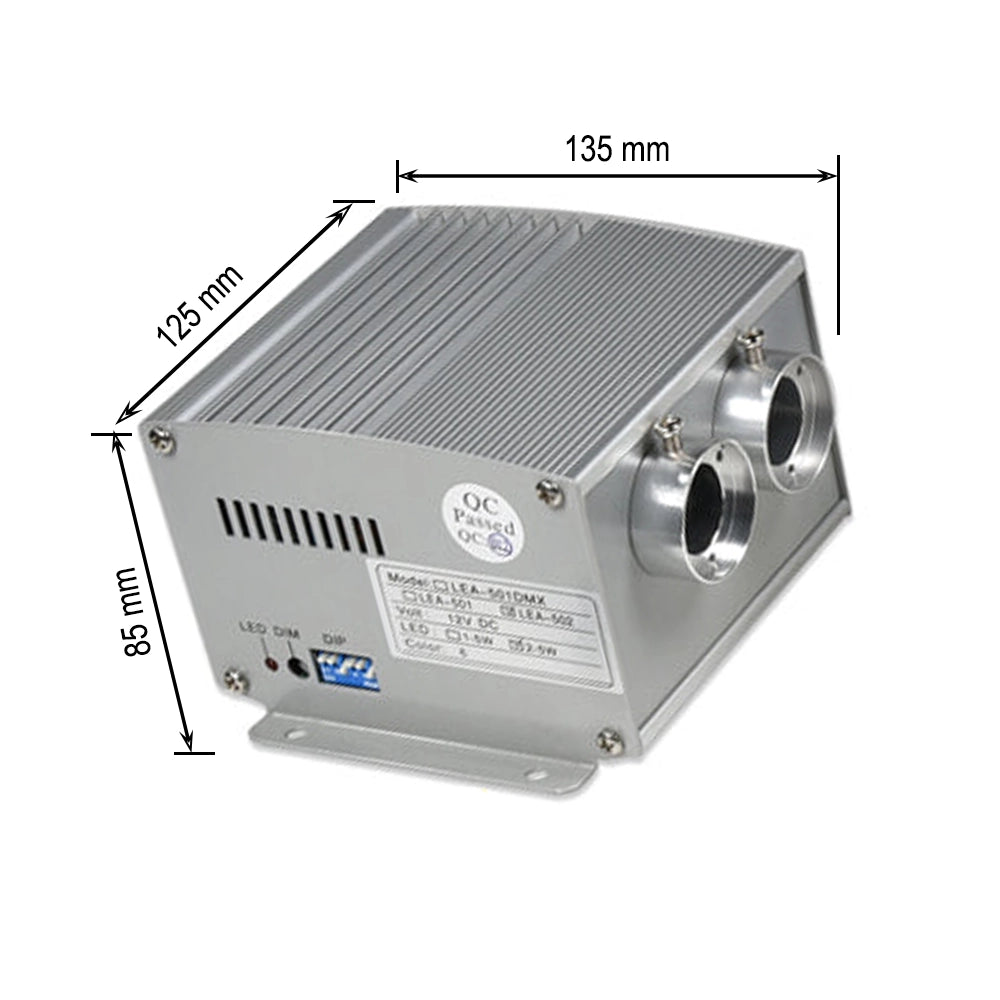
12VDC , 10 Watt generator engine
-
SAA approved power supply , with Australian plug is included.
-
adjustable rpm to make the twinkle effect more realistic.
-
adjustable brightness
-
2 year warranty
Uses
to create a twinkling star ceiling effect
How to do it
- Use masking tape or chalk line to divide the ceiling into grids. Let's assume as an example you got 10 sections after dividing the ceiling into grids.
- Stretch out the harness in the room, subdivide the harness into smaller bunches and use a cable tie to keep the bunches organised. You do not need to over-tighten the cable ties. Tighten them enough so the stars don't fall out of the cable tie, but not so much that you end up damaging the stars when you start pulling them out of the cable ties later on at the time of actual installation. In this example, we will divide the total of 900 x 1mm fibre strands into 10 bunches. In this example, you should end up with 10 bunches, each having 90x1mm fibre strands. As we have two harnesses, each harness at this stage has been divided into 5 bunches, each bunch having 90x1mm stars. This step is time-consuming, but will save you precious time when you are in the ceiling and will also minimise tangling of stars. While you are stretching the optic fibre strands out and dividing them into smaller bunches, you will come across some tangling issues. If some stars are heavily tangled, feel free to cut the far ends of the stars to overcome some of the tangling issues. This will reduce the length of some of the strands, but this should not affect the overall outcome. Tangling is the single biggest problem in DIY star ceiling projects, and you are going to have to deal with it at some stage. It's better to deal with it in the room than while working inside the ceiling cavity.
- Make 900 holes in the ceiling using a 1 mm drill bit. These holes are to be done from inside the room with the drill driving into the ceiling plaster sheet. The drill will rip the paper backing of the sheets. These holes can be randomly spread as long as you ensure that you are covering the areas somewhat evenly and each section of the grid is getting the approximate number. In this example, we will make 90 random holes in each section of the ceiling.
- Now carry the two harnesses(each divided into 5 bunches) into the ceiling. Run each of the 10 bunches to one of the sections that you have marked on the ceiling. It's a lot easier to run the fibres to each of the desired sections as a bunch. This can be done by running the bunch tucked in the gaps that you will almost always have between the framing and the gyprock sheet.
- Once you get into the ceiling, you should be able to spot all the drill marks as the backing paper of the sheet will be torn at that spot. Keep pulling the fibres out of the cable ties and pass them through these holes one by one. It's recommended to pass all the slack into the room and not leave any in the ceiling cavity. It will make the job messy if you leave slack in the ceiling cavity. After passing all the strands (and slack) into the room, apply a very small dab of quick-dry glue or liquid nails to jam the star into the hole so it can't get pulled out. This step is optional. Please do not use hot-melt glue on Optic fibre strands to jam them into the holes, as heat can potentially melt and destroy the optic fibre strands.
- Please keep the Twinkling light generator in the centre of the room. If you keep the generator too far away from the centre of the room, the stars may not be able to reach all sections of the room.
- Please get a licensed electrician to provide you with a plug base in the centre of the room. This power should be taken off a separate switch on the wall. Please do not take power from a downlights circuit as you will not be able to turn the star ceiling on if the downlights are off.
- Now get into the room and trim all the stars to approximately 50mm length. We call this the FIRST TRIM. This will allow for the painters to be able to spray paint the ceiling. We highly recommend that the top coat of paint should be black matt colour. The more matte the paint, the better the final result.
- Once all the coats of paint are complete, go for the FINAL TRIM. In this case, you can trim the ends of the stars as close as possible to the ceiling. Please invest in flush cutters for the best outcome.
Feel free to call us during working hours for any support and advice.
DESIGNED TO BE EXPERIENCED
Experience the Difference in Person
Explore real spaces, working systems, and live demonstrations — and understand what’s possible before you commit.